tIPS & TRICKS
Now that you are a connected educator, there are many things that you can do to make your student's digital lives much easier. Not only will this make their lives easier, it will save you from encountering frustrating issues that you will come across when using technology. There are many simple tips and tricks to think about when implementing laptops into your classroom. Below are a few suggestions to think about as you are implementing technology into your classroom.
Changing student passwords
Before you set up your student laptops at the start of the school year, we suggest that you reset your students passwords prior to that initial set up. Students will often forget their passwords over the summer, thus causing problems when they go to set up their OneNote and OneDrive folders. After the initial set up, students must change their password to something unique for security purposes. The students are able to reset their own password or you can use the options explained in the password reset section below.
Steps:
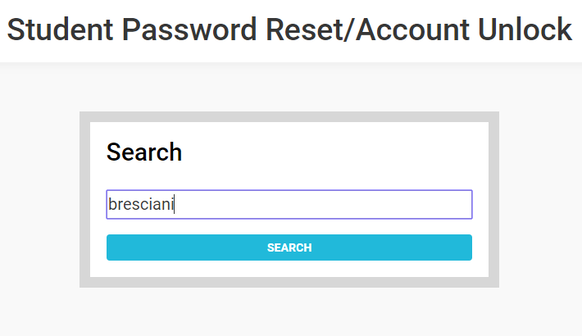
1. Go to https://mypass.rcsd.ca/ and select "Reset a student's password or unlock their account".
Steps:
1. Go to https://mypass.rcsd.ca/ and select "Reset a student's password or unlock their account".

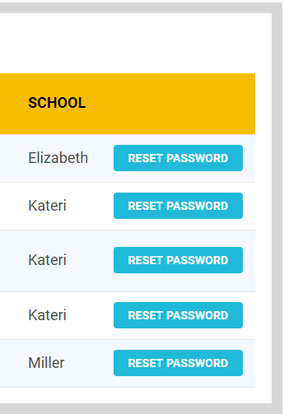
2. You will be prompted to search by student last name or student ID. Once you have located your student, click "reset password".
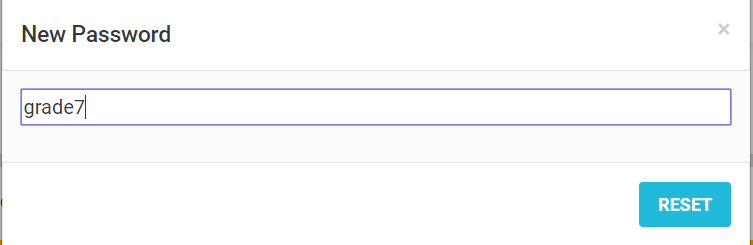
3: We would suggest that you use a generic password for the initial set up with the students. Make sure that your students change this password immediately after you have their laptops set up.
pinning programs to task bar
When your students receive their laptop at the beginning of the year, it is wiped clean and feels like a brand new laptop. You want your students to pin the important programs and tools to the task bar. This will give them quick and easy access to this tool at anytime. The steps below will be the same for all of the tools or programs you choose to add to the task bar. Your students should pin the following programs to the task bar:
1. Search for the tool in the search bar on the bottom left of the screen.
- Google Chrome
- OneNote
- Snipping Tool
- Outlook
1. Search for the tool in the search bar on the bottom left of the screen.
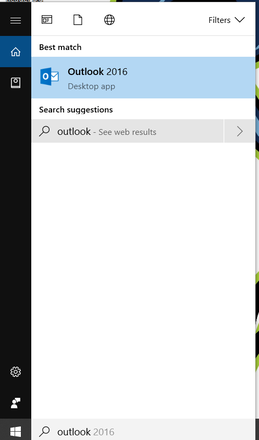
2. Right click the program and choose "Pin to taskbar".
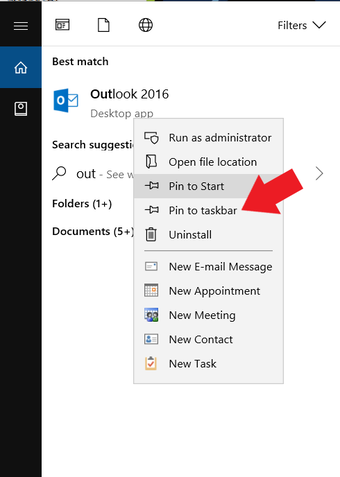
3. Now your students will have easy access to all of the important programs at the bottoms of their screen.

snipping tool
The snipping tool allows your students to take screen shots of their work and save them as images on their laptop. This is valuable for students that need to document their assignments, create specific images, or copy parts of a reading assignment. This is also very valuable for teachers as it allows you take smaller pieces of information and include them in your assignments.
Steps:
1. Search for snipping tools in the bottom left search bar.
Steps:
1. Search for snipping tools in the bottom left search bar.

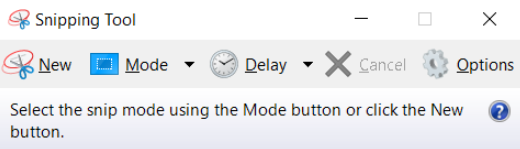
2. The program will appear on your screen with the following options:
- New - Click this to create a new screenshot
- Mode - Shape options for your screenshot
- Delay - You can delay your snip for up to 5 seconds
- Options - Additional settings
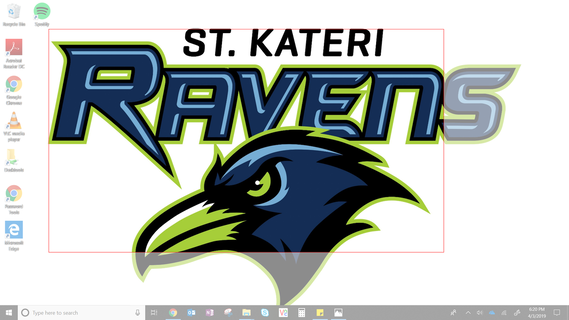
3. To take a screenshot, choose the "New" option in the snipping tool. Hold in the mouse and drag the rectangular box around the area you want to screenshot. When you release the mouse, it will take an image of the chosen area.
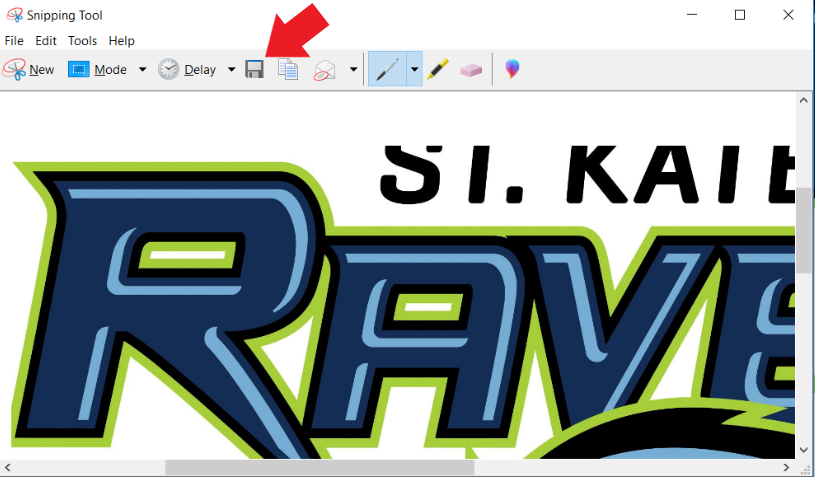
4. Once you have released the mouse, the image will appear on your screen. You now have the option to save the image to any location that you choose.
bookmarking important websites
You should have your students bookmark the websites that they will frequently use in the classroom. This will prevent them from typing in the website every time they go to use it. This will increase their productivity and avoid wasting time searching for websites. Some common websites that should be bookmarked include:
1. Go to the website that you want to save as a bookmark. Example: www.office.com
2. Click the empty star on the top right of the URL search bar.
- Office 365
- Classroom or teacher blogging website
- Seesaw or myBlueprint
- Any other website frequently accessed in the classroom
1. Go to the website that you want to save as a bookmark. Example: www.office.com
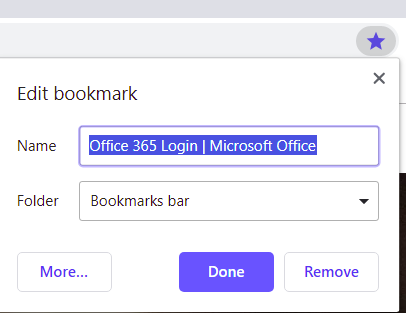
2. Click the empty star on the top right of the URL search bar.

3. A box titled "Edit Bookmark" will pop up after you click the star. Give the bookmark a name and make sure the folder says "Bookmarks Bar."
4. Now your students can access all of the important websites by simply clicking the icon or name at the top of their screens.

