plickers
Plickers is an interactive, card-based formative assessment tool that allows teachers to utilize up to five multiple choice or true/false questions. Students are assigned a Plickers card that is personalized and unique to them. As a teacher, you project a multiple choice or true/false quiz on to the board. The students hold their Plickers card in the air, with the correct answer facing up (see below for more details on Plickers cards). The teacher then scans the classroom with their device to record the students answers. As each Plickers card is unique, the program recognizes individual students and their answer to the questions. Plickers is beneficial because it is a low tech option, which is beneficial for teachers that do not have a 1:1 device ratio in their classroom. Also, for teachers looking to reduce screen time, Plickers is a viable option for their classroom. Senior students could also teach their little buddies how to use this resource, which could benefit the primary teachers in your school.
Steps to create an account:
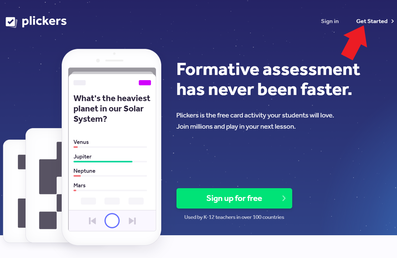
1. Go to get.plickers.com/ and click "Get Started" in the top right corner.
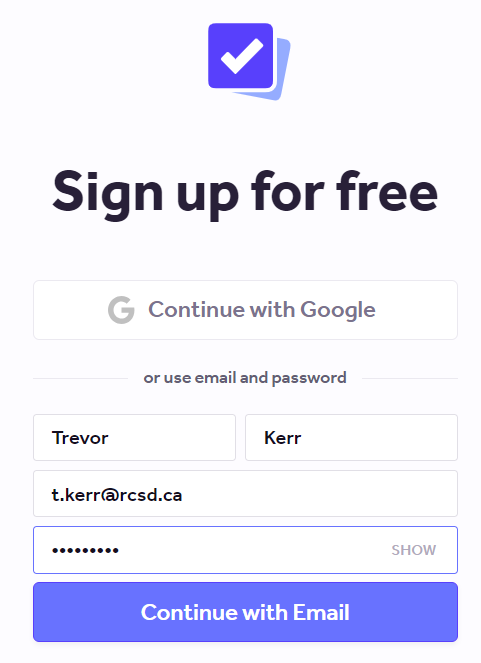
2. You will be directed to a screen where you have to enter all of your credentials. Be sure to use your RCSD email address.
3. Once you create your account, you will be directed to "Your Library" which serves as the home base for everything you will do in Plickers. In this section, you can create classes, add students, access reports, and create new sets.

Printing plicker cards
Steps:
1. The first thing you'll want to do is print your Plicker student cards. Once you have printed these cards, you want to laminate them to ensure they stay in good condition. The cards will not work properly if they are damaged.
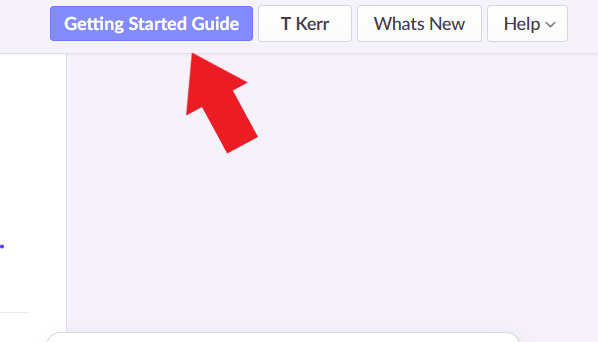
Start by clicking "Getting Started Guide" in the top right corner of the screen.
1. The first thing you'll want to do is print your Plicker student cards. Once you have printed these cards, you want to laminate them to ensure they stay in good condition. The cards will not work properly if they are damaged.
Start by clicking "Getting Started Guide" in the top right corner of the screen.
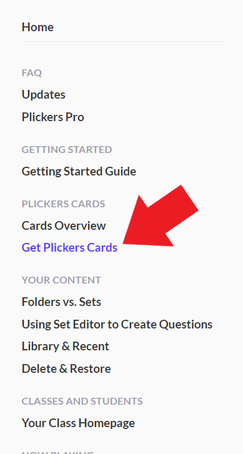
2. You will be directed to a menu on the left side of the screen. Click "Get Plickers Cards".
3. To start using Plickers, you will probably only need a "standard" set of cards for your students. This option gives you 40 individualized Plickers cards. If you need more cards or prefer a larger font, choose "Expanded" or "Large Font" in the same menu.
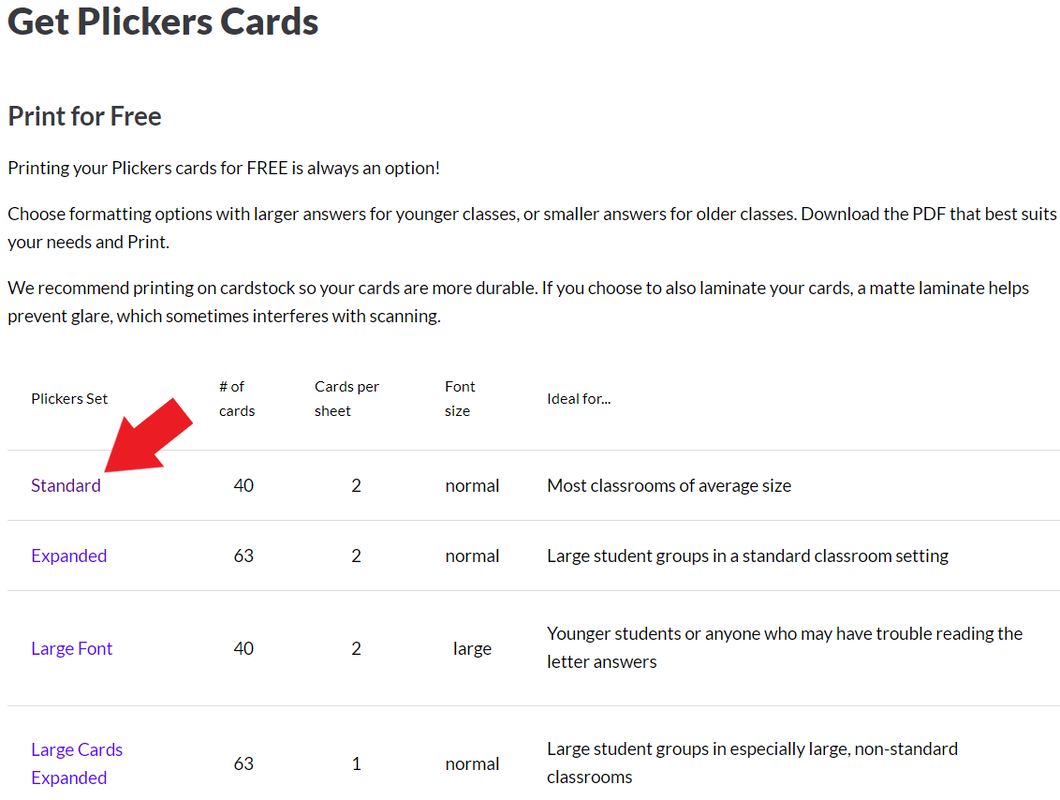
4. As there are 2 Plickers on each sheet of paper, you will be required to cut these into two seperate cards. Make sure that you laminate the Plicker cards before using! If you aren't feeling up to the cutting and laminating, you can also purchase Plicker cards on Amzon that come laminated.
Understanding the Plicker card
Each Plicker card is a unique shape and assigned a number. This number is how the program tracks individual student results. When you enter your students into the program, they will be assigned a number based on the order you enter them into the program.
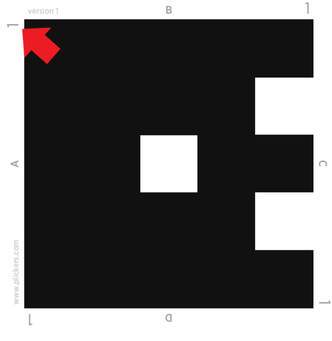
Each side of the card has a unique shape and a letter attached to it (A,B,C,D). Students answer multiple choice or true/false questions by holding the card with the correct side at the top.

All of the Plicker cards have a unique design that allow students to anonymously answer without feeling the pressure of getting the question wrong. This will also somewhat prevent students from simply looking at their neighbour's answer.

Creating a quiz (set)
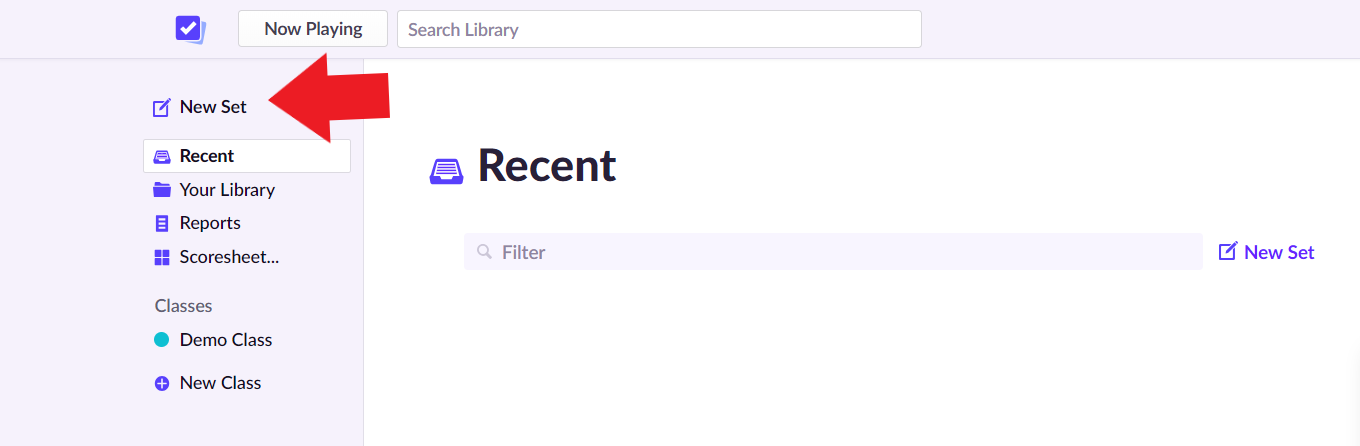
1. Plickers uses the word "Set" to create what we commonly call tests, quizzes, or assessments. Begin by clicking "New Set" on the top left of the menu.
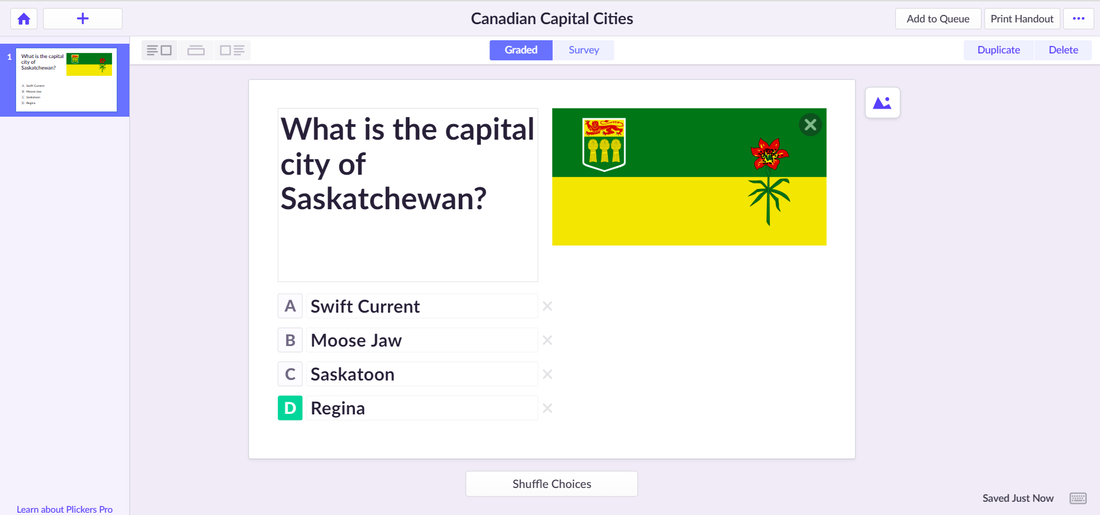
2. It will take you directly to the set creation. Begin this step by giving your set a title and entering your first question.
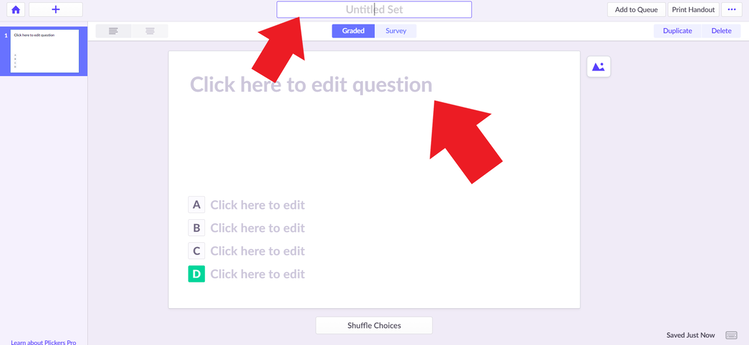
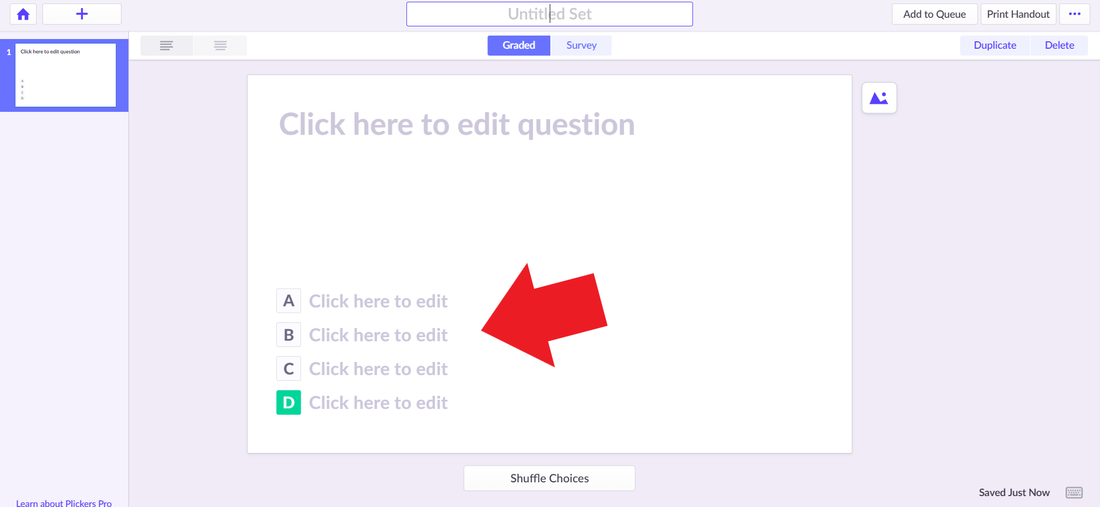
3. Enter you answers at the bottom of the screen. Choose the correct answer by clicking the letter associated with it.
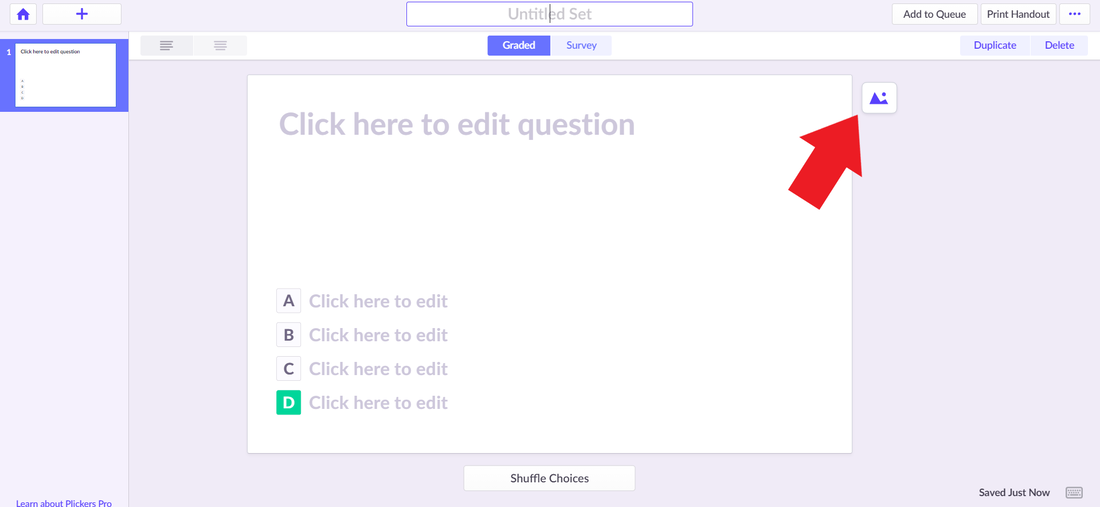
4. You can also add an image related to the question or overall set. Click the picture icon the right side of the screen to add an image related to the question.
5. Add more questions to your set by clicking the "+" in the top left of the screen.
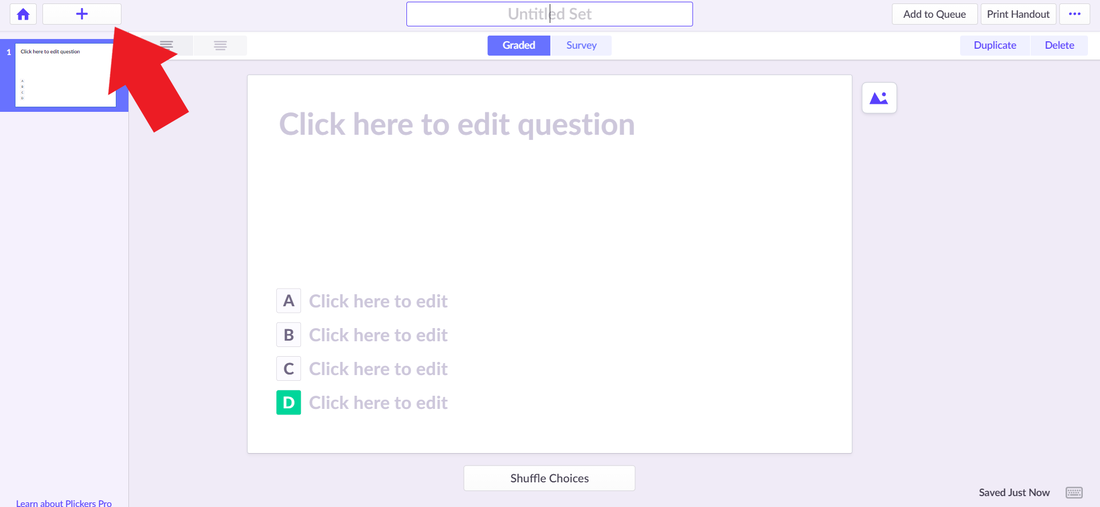
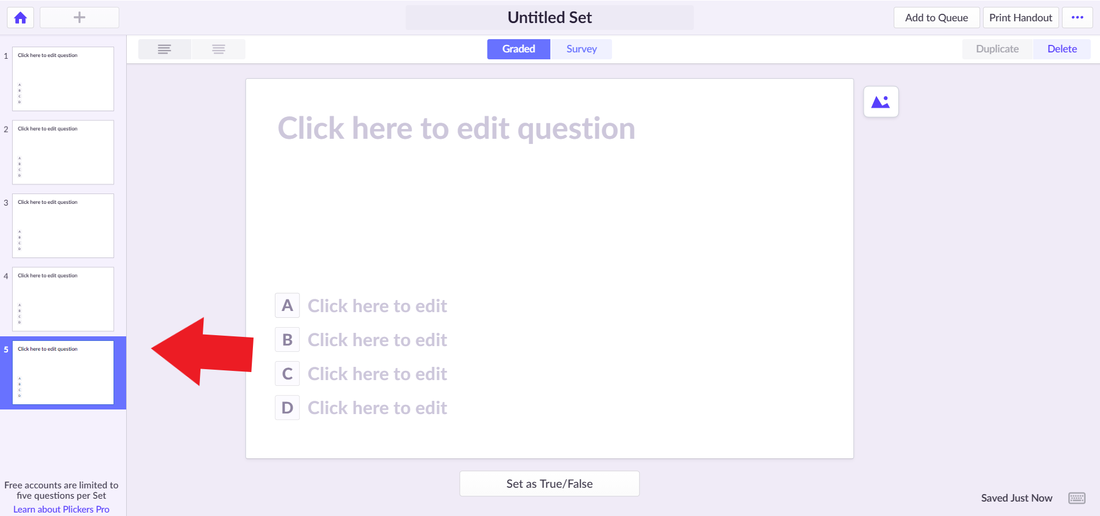
5. Unfortunately, free Plickers accounts are limited to only 5 questions. All of your questions are listed on the left hand side of the screen. You can click these slides to edit them at any point.
6. Overall, creating questions in Plickers is a very smooth and user friendly process.
Creating a class
Steps:
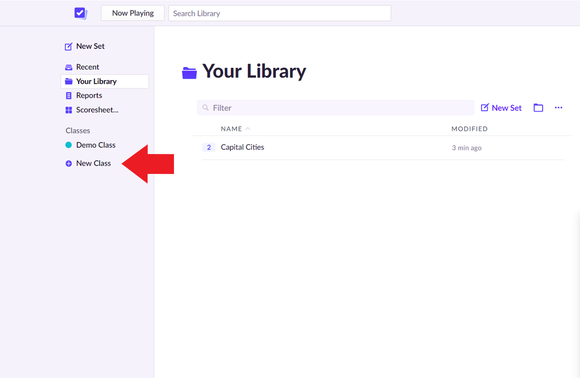
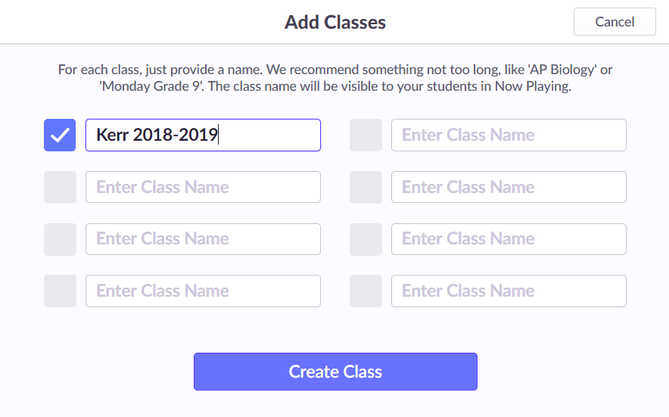
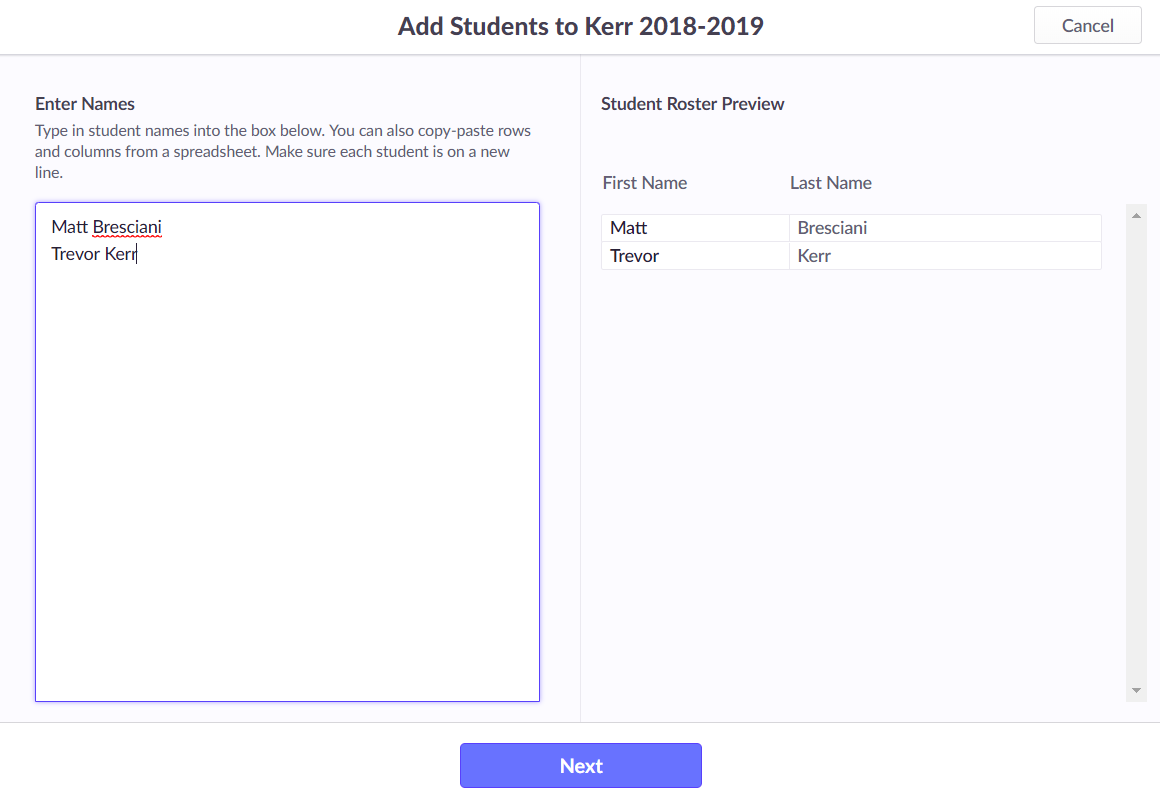
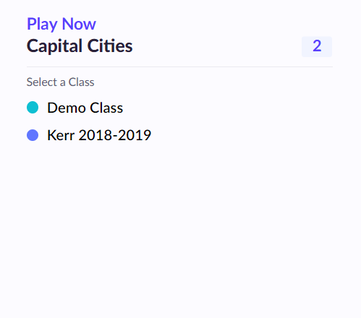
1. Click "+ New Class" on the left menu and then name your class (Ex: Kerr 2018-2019)
1. Click "+ New Class" on the left menu and then name your class (Ex: Kerr 2018-2019)
2. Add your students in alphabetical order. The Plickers cards will be automatically assigned to your students based on the order you enter them into the program.
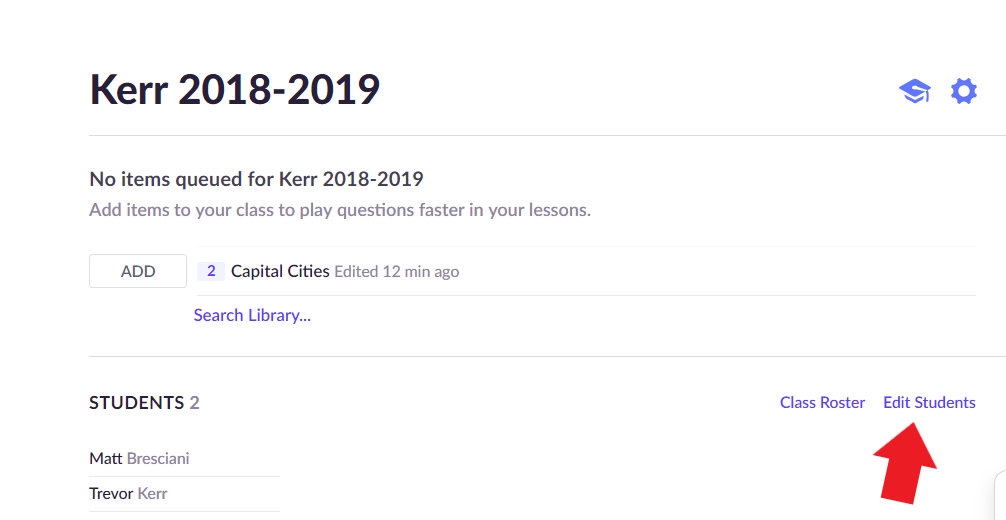
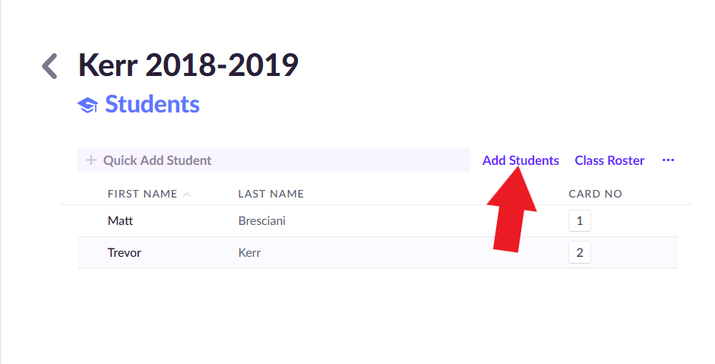
3. At any point in the school year, you can add students by going to your library and clicking "Edit Students" and then "Add Students".
ADMINISTERing a set
Before you start, you want to make sure that all of your students have a Plickers card and know how to use them properly. Also, you will be required to download the Plickers app to scan your students answers as they are completing the set.
Steps:
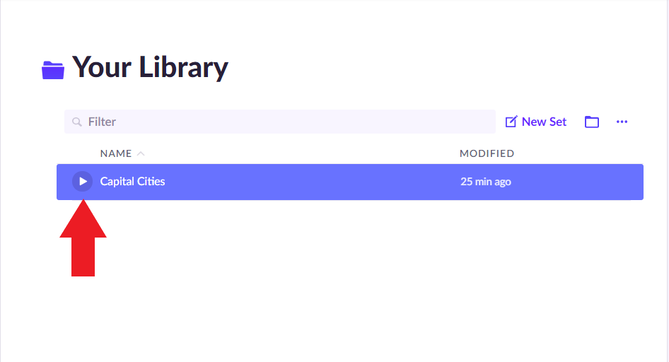
1. Go to your library and choose the set you would like to administer. Click the play button to begin the set.
Steps:
1. Go to your library and choose the set you would like to administer. Click the play button to begin the set.
2. Choose the class you want to take your set.
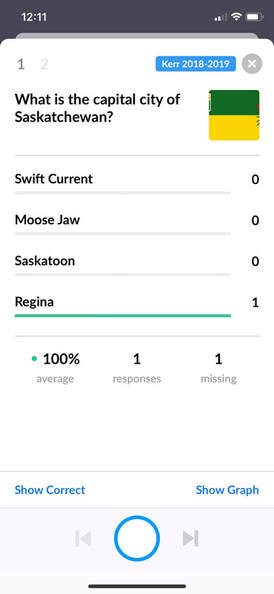
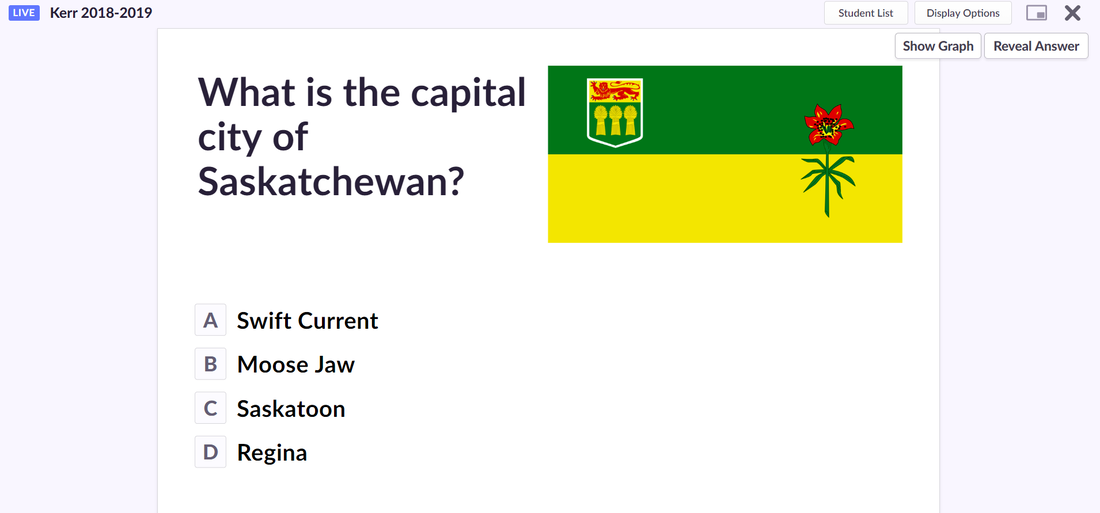
3.This will be the start of your set. You will need to project the set on to your board in the classroom. Students will answer the questions using their Plickers card. Below is an exact image of what the projection looks like on your board.
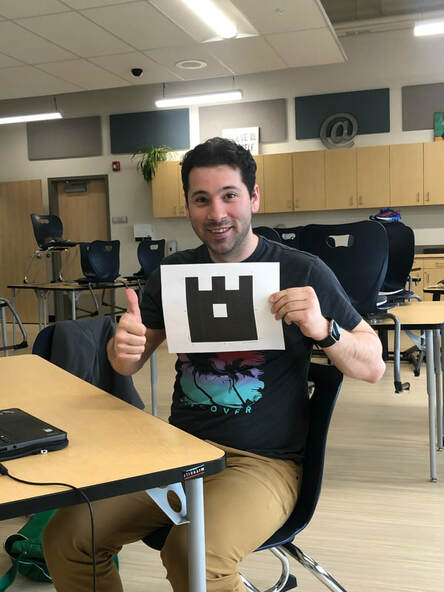
4. Students answer the question by holding up their Plickers card with the correct answer facing up. As a teacher, you walk around the classroom with your phone and scan all of the students Plickers cards. I would recommend that you students hold the Plickers card up in the air to make scanning easier. As you can see below, Matt failed to follow the directions and also got the question wrong.
5. Additional information about using the Plickers app:
- The application gives you a class average based on each question.
- Informs the teacher how many students have responded and how many are missing.