Onedrive folder creation
By now, you must be wondering where your students will save all of their fabulous projects and assignments. No, you won't be saving your files to your desktop or some random location on your computer. Lucky for you, we have access to a wonderful product called Microsoft OneDrive. Through your student's Office 365 account, they have the ability to create folders, share them with you once ate the beginning of the school year, and access them from anywhere in the world. Most importantly, all of the student work automatically saves and syncs with all of their devices. This means they can work on the same assignment at school, on their phone on the bus, or from the comfort of their couch. Below, you will find detailed instructions on how to create folders, share folders with teachers, and some valuable tips on how to make your digital binder much more organized. You will also learn how to sync your students OneDrive folders to their laptops. This allows them to use the full functionality of programs such as Word and PowerPoint.
Steps:
1. Go to www.office.com/ and choose the "Sign in" option in the top right corner of the screen. You will be prompted to sign in using your RCSD credentials. To make this step easier, I would suggest changing all of your student passwords to something generic for the few days of school while you setup your student devices (See Ease of Access section for details on how to change student passwords).
2. Once you have logged into your Office 365 account, click OneDrive to access the section where students will create their folders.

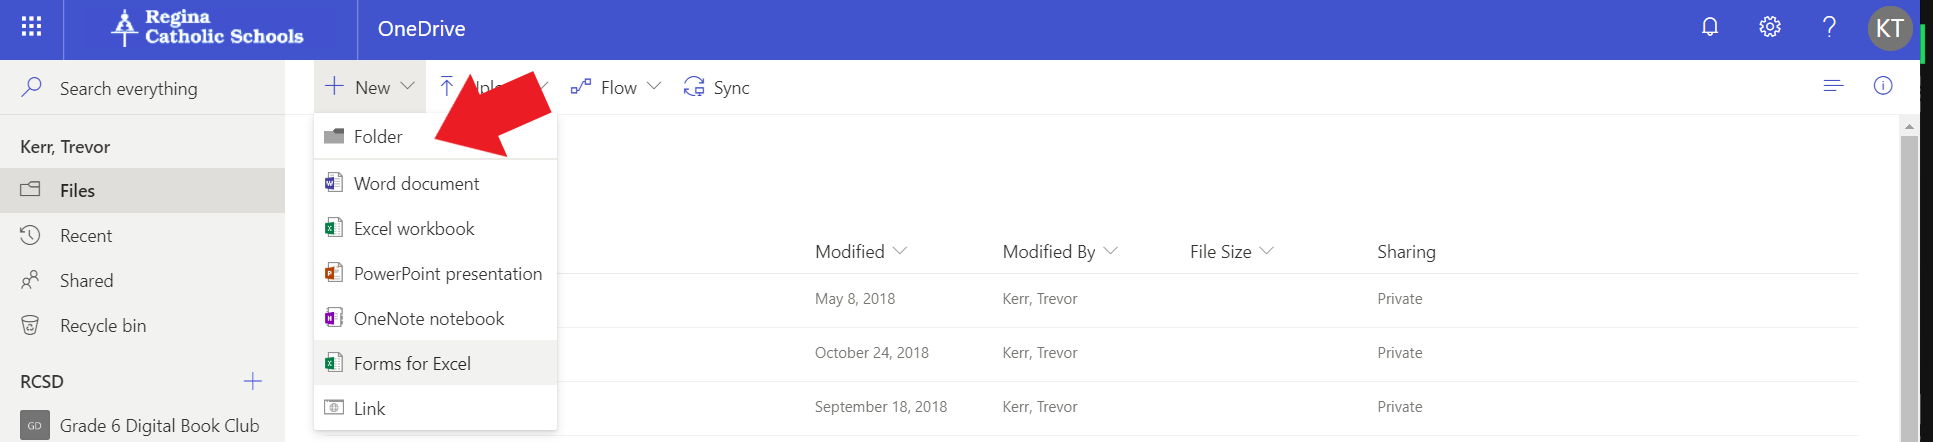
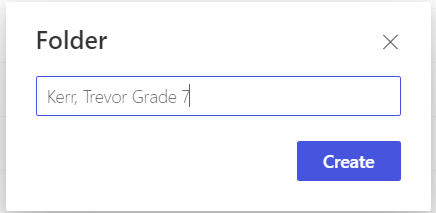
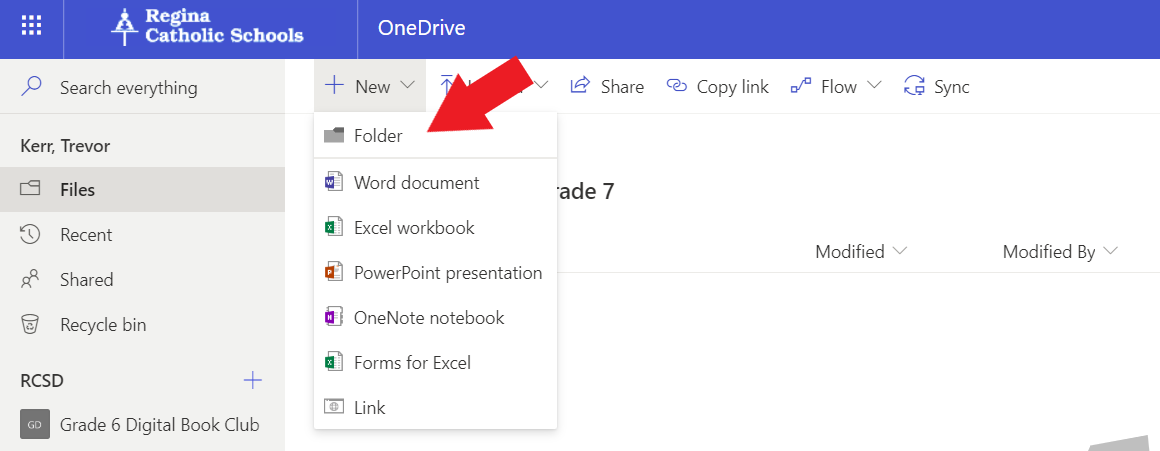
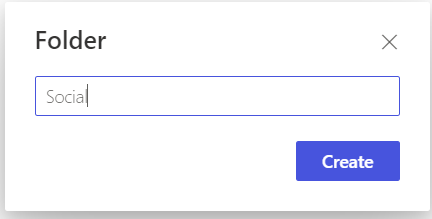
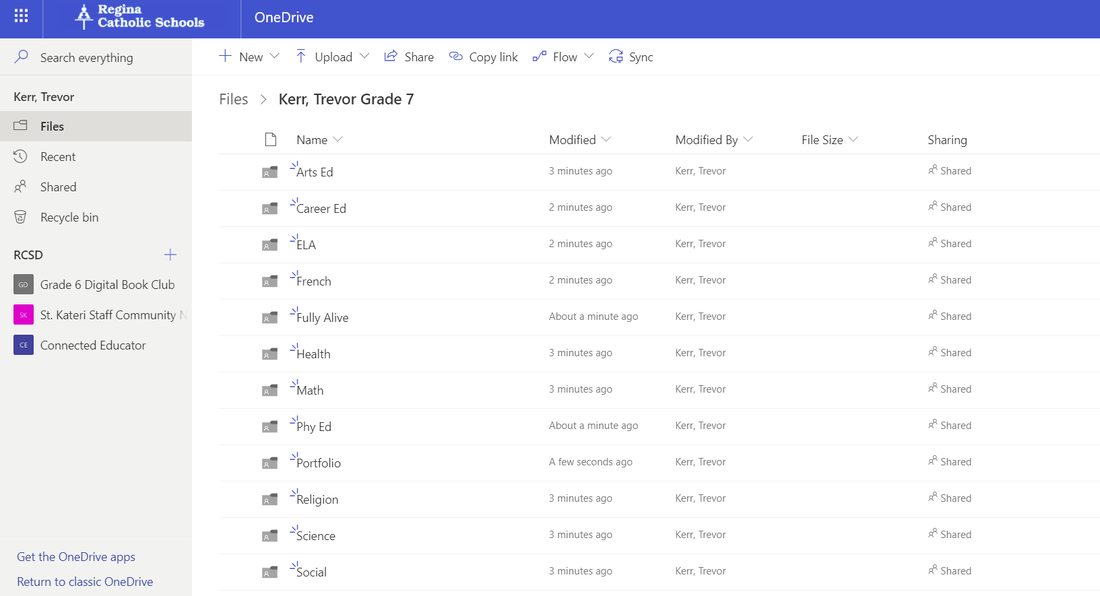
3. Once you are in OneDrive, choose " +New" to create a new folder. You will be prompted to name your folder. Your students should name their folder as follows: Last Name, First Name Grade __.
Example: Kerr, Trevor Grade 7
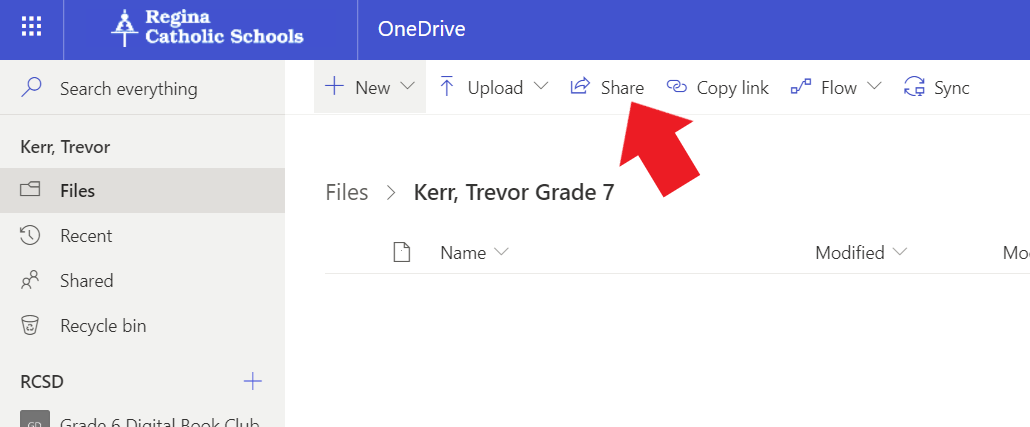
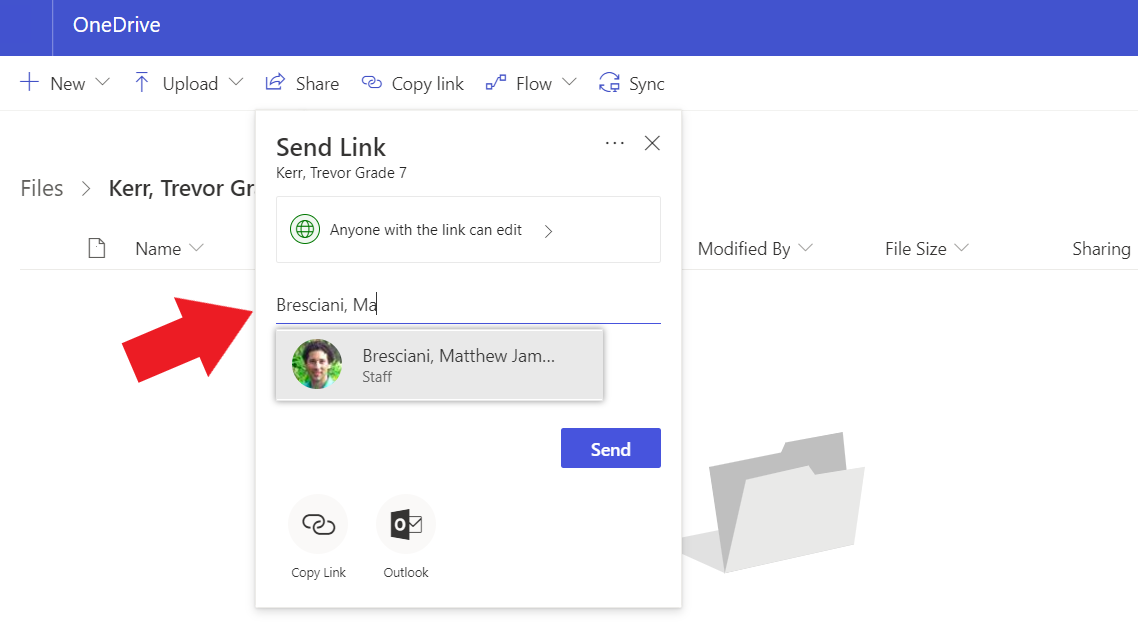
4. Now that your students have created their main folder, have them click the folder to enter it. The first thing you want them to do is share this folder with you and any other teachers that will be working with them this year. You only need to share the main folder to have access to all other folders and files saved in this location. Click "Share" and students can search for teachers by their last name. When they find the teachers name, click the teacher and then hit "Send".
5. Now you will want to create subject folders within the main folder. This helps your students organize their assignments and documents based on the subject area. Click "+New" to create a new folder. You will be prompted again to name your folder, as you were in step 3. The folder should be named based on the subject (Ex: Social)
6. Repeat step 5 to create subject folders or any other folders you want to create. This would be a good time to create folders that you might use over the course of the school year. An example would be a portfolio folder if you plan on having your students organize some documents for their learning portfolio.
syncing folders to the student laptop
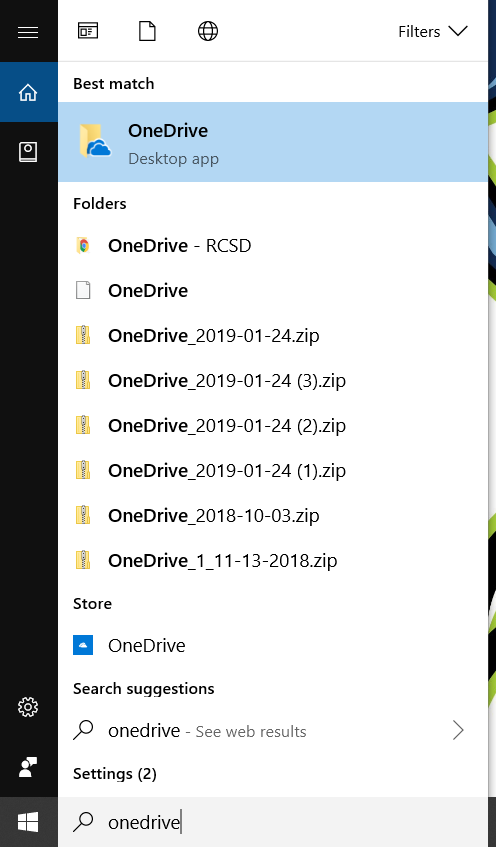
1. After you set up the folders online, you want to sync your students OneDrive account with their personal laptops. This allows them to use the full functionality of the tools available to them (Examples: PowerPoint, Word). They can work off of the desktop and save their files right into their OneDrive folders. Start this by searching "OneDrive" in the search bar at the bottom left of your screen.
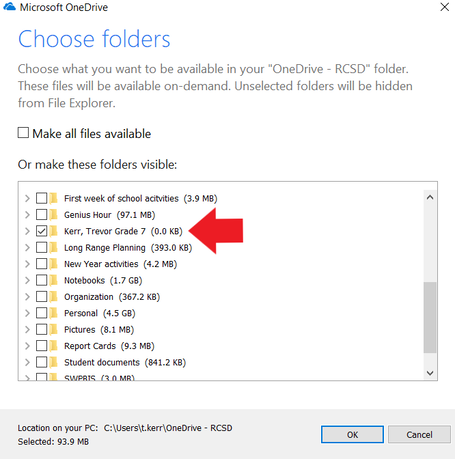
2. Students will be prompted to enter their RCSD credentials. They will need to enter their RCSD email and password, which will direct them to a screen to choose the folders they want to sync.
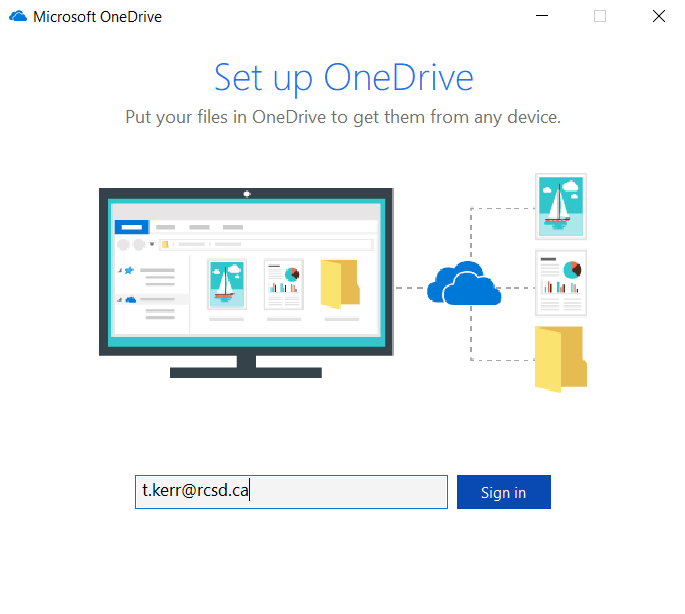
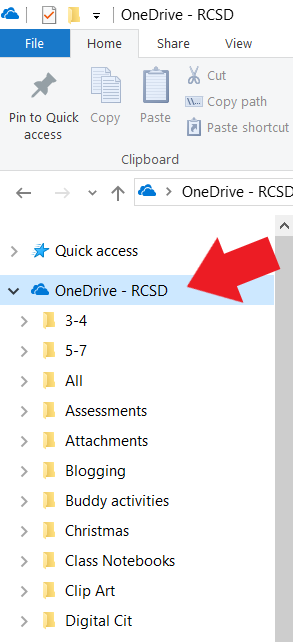
3. Students will only want to check off the folder they just created online (Ex: Kerr, Trevor Grade 7). This will ensure that they are only uploading folders and files applicable to the current school year. Students will now be able to save all of their files to their "OneDrive - RCSD" section. They now have the ability to work and save assignments on their desktop, online, and from home.